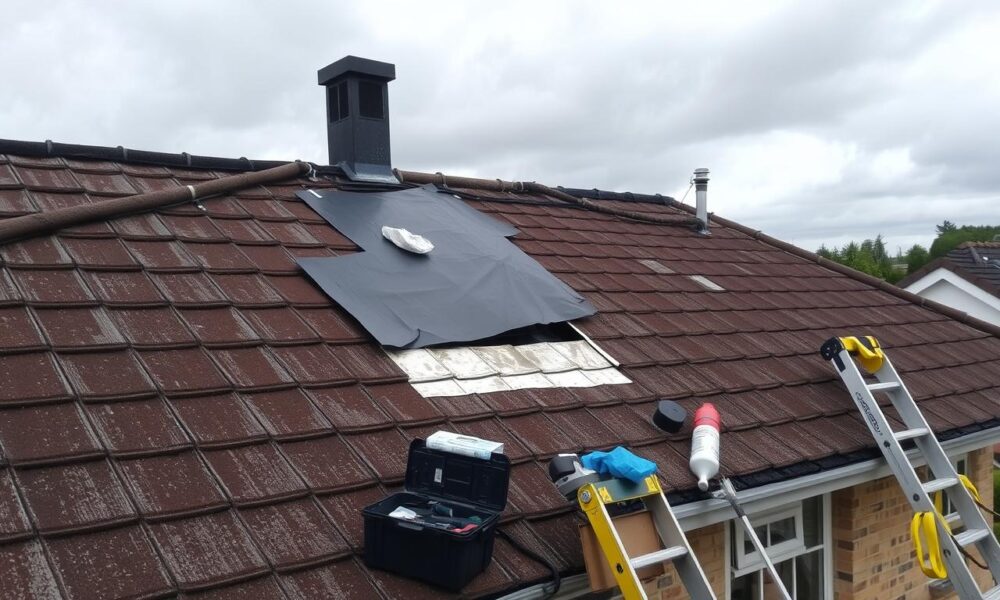
How do you emergency patch a roof?
Roof leaks can be a big problem for homeowners. They can cause water damage and lead to expensive repairs if not fixed quickly. Luckily, there are ways to quickly fix a roof in an emergency. We’ll show you how to do a temporary roof patch, including common leak causes, needed materials, and when to call a pro.
Key Takeaways
- Identify the source of the roof leak before attempting a patch
- Gather the right materials and tools for the job, such as roofing cement, sealants, and tarpaulins
- Learn how to properly patch shingles, tiles, flat roofs, and metal roofs
- Secure the temporary patch to ensure it withstands the elements
- Monitor the patch and make any necessary repairs to maintain its effectiveness
Identifying the Roof Leak
To fix a roof leak, you first need to find where it’s coming from. This step is key because it tells you how to fix it. Knowing why roof leaks happen and what they look like helps you find and fix the problem.
Common Causes of Roof Leaks
Roof leaks can happen for many reasons. Here are a few:
- Damaged or missing shingles
- Cracked sealants or caulking around vents, chimneys, or other roof penetrations
- Gaps or openings in the roof’s surface
- Pooling water due to poor roof drainage
- Roof punctures or holes caused by falling branches or other debris
Signs of a Leaky Roof
Spotting roof leak signs early can stop more damage. Look out for these signs:
- Water stains on the ceiling or walls
- Mold or mildew growth
- Peeling paint or wallpaper
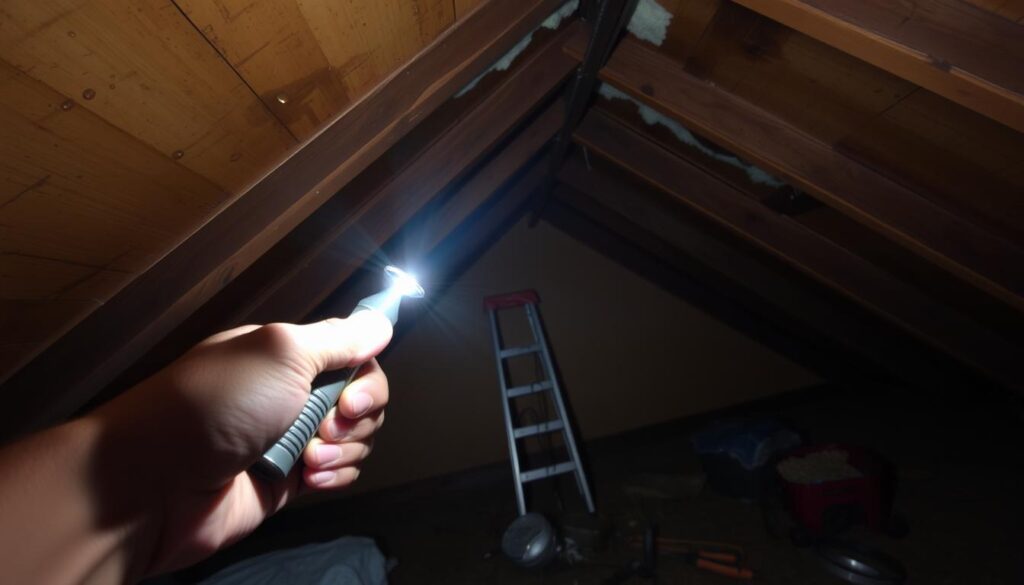
- Damp or wet insulation in the attic
- Visible daylight through the roof
By knowing the roof leak causes and spotting the signs of a leaky roof, you can start fixing the roof leak. This lets you move on to a temporary fix.

Preparing for the Temporary Roof Patch
Before starting your DIY roof repair, it’s important to prepare the area well. This step is key for a successful temporary fix and ensures the patch sticks well. Let’s look at the main steps to get your roof ready for the emergency patch.
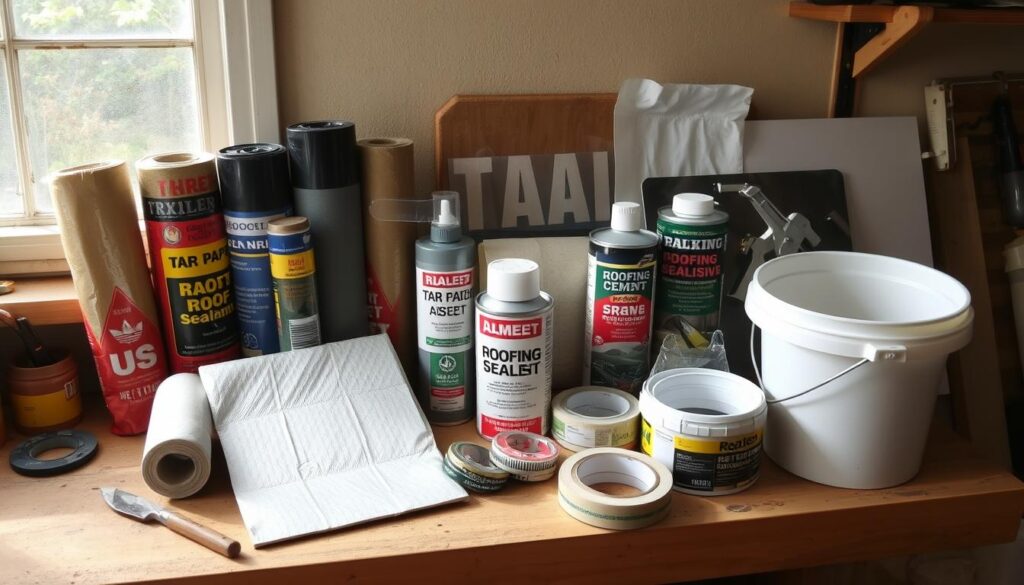
First, collect all the tools and materials you need. You’ll require roofing cement, a trowel, a utility knife, sandpaper, a broom or brush, and a sturdy ladder. Also, have a temporary tarp or plastic sheeting ready to cover the area while you work.
With your supplies in hand, it’s time to climb up to the roof safely. Be careful, wear shoes that won’t slip, and have someone help you if you can. Check the damaged spot, removing any loose debris, dirt, or moisture with a broom or brush. This makes the surface ready for the roofing cement to stick well.
- Gather the necessary tools and materials, including roofing cement, a trowel, a utility knife, sandpaper, and a ladder.
- Safely access the roof, taking precautions to prevent falls and ensure a stable footing.
- Clean the affected area, removing any loose debris, dirt, or moisture to create a clean surface for the patch.
By carefully preparing the roof, you’ll be ready for a successful temporary fix. This approach helps avoid future leaks or damage. With the right steps, you can handle an emergency roof patch and keep your home safe until a permanent fix is found.

Choosing the Right Patching Materials
When you need to fix your roof quickly, picking the right materials is key. You have many options like roofing cement, sealants, roof tarpaulins, and plastic sheeting. Each one is good for different types of repairs.
Roofing Cement and Sealants
Roofing cement is great for sealing small cracks and holes. It forms a strong bond and stops leaks. You can choose from different types like asphalt, silicone, or acrylic, each with its own benefits.
Roof Tarpaulins and Plastic Sheeting
Roof tarpaulins and roof plastic sheeting are perfect for big repairs. They cover large areas and keep your roof dry until you can fix it for good. They’re easy to put up and stay in place well.
Think about the size and where the damage is when picking materials. Also, how long you need the fix to last. Talking to a roofing expert can help you choose the best option for your roof.

Roof Patch for Shingles or Tiles
Patching a roof with shingles or tiles needs care to fix it right and last long. You might face missing, damaged, or curled shingles, or cracked and broken tiles. The first step is to check the problem area well and pick the right materials for fixing.
For fixing asphalt shingles, you’ll need roofing cement, a putty knife, and shingles that match your roof. Clean the area around the damaged shingle first. Then, apply a lot of roofing cement to the back of the new shingle. Press it firmly, making sure the edges are sealed well.
Patching roof tiles is a bit harder because the fix must look like the rest. Start by removing any broken or cracked tiles. Then, use tile cement or sealant to stick the new tiles in place. Spread the cement or sealant all over to stop leaks.
Sealing the Edges
After putting in the patched shingles or tiles, sealing the edges is key to keep water out. Use roofing cement or a flexible roof sealant along the seams and edges. This ensures a tight and waterproof seal.
Success in fixing roof shingles or tiles comes from paying attention to details and using quality materials. By preparing well and using the right techniques, you can fix roof leaks and keep your home safe from water damage.
Maintaining the Patch
- Regularly check the patched area for wear or damage.
- Apply more roofing cement or sealant as needed to keep the seal.
- Think about replacing the whole section of shingles or tiles if the damage is big.
Patching Flat or Low-Slope Roofs
Fixing leaks on flat or low-slope roofs is different from fixing sloped roofs. These roofs have their own set of challenges. But, with the right tools and materials, you can fix and protect your home.
Applying a Roof Coating
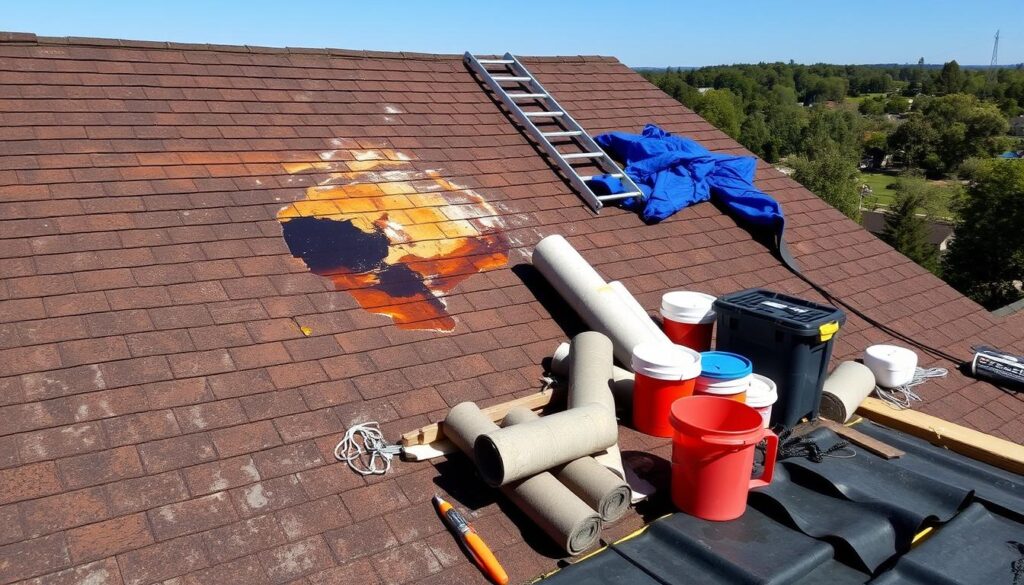
Using a roof coating is a great way to stop leaks on flat or low-slope roofs. These products make a waterproof layer over your roof. They seal any cracks or holes. Here’s how to use a roof coating for a quick flat roof patch:
- Clean the roof well to get rid of dirt and debris.
- Apply a primer coat if the manufacturer says so. It helps the coating stick better.
- Spread the roof coating with a roller or brush. Make sure to cover the edges well for a tight seal.
- Wait for the coating to dry completely before facing the weather.
A roof coating is a strong, short-term fix for low-slope roof repair. It protects your roof until you can get a more lasting solution.
Dealing with Roof Punctures or Holes
Roofs can get punctures or small holes from falling debris or equipment. These issues can cause water leaks and harm the structure if not fixed fast. Luckily, there are ways to patch a roof puncture or small hole to stop water leaks and keep your home safe.
Patching a Puncture or Small Hole
Fixing a roof puncture repair or roof hole patch quickly is crucial. Here’s how to do an emergency roof hole fix:
- Find out where and how big the puncture or hole is. This will tell you what materials to use.
- Clean the area around the roof puncture or roof hole well. Get rid of any loose stuff or damaged shingles/tiles.
- Put a lot of roofing cement or sealant around the hole. This will make a waterproof seal.
- Cut a roof tarpaulin or heavy-duty plastic sheeting a bit bigger than the hole. Place the patch over the hole and press it into the cement or sealant.
- Use roofing nails or screws to hold the patch in place. Seal the edges with more cement or sealant.
- Check the patch often and add more sealant or fix it if needed to keep the emergency roof hole fix working.
By doing these steps, you can fix a roof puncture or small hole and stop water damage. While this fix works for now, it’s key to get a pro roofer to check the damage and fix it for good as soon as you can.
Roof Patch for Metal Roofs
Fixing a metal roof in an emergency needs a special plan. Metal roofs are tricky because of their material and how they’re installed. But, there are ways to fix a metal roof quickly during an emergency.
Identifying the Damage
First, check the damaged area carefully. Look for corrosion, holes, or loose fasteners that might be leaking. Knowing the damage helps pick the right fix.
Preparing the Roof Surface
Clean the area around the damage well before fixing it. Get rid of dirt, debris, and old paint or coatings. This makes sure the fix sticks to the metal.
Choosing the Right Patching Materials
- Roof tarpaulins or heavy-duty plastic sheeting can cover big roof areas temporarily.
- Roofing cement or sealants made for metal roofs fix small holes or cracks.
- For bigger damage, use a metal roof patch kit with pre-cut patches and adhesives.
Choose products that match your roof’s metal type, like steel or aluminum.
Applying the Patch
Follow the maker’s guide when applying the metal roof patch or sealant. Make sure the edges seal well to stop leaks. If using a tarp or plastic, nail it down with roofing nails.
A temporary metal roof patch is just a quick fix. Get a pro to check and fix your roof as soon as you can. This keeps your metal roof safe for a long time.
Securing the Temporary Roof Patch
After fixing the temporary roof patch, it’s key to secure it well. This ensures the fix works until a lasting fix can be done. It’s vital for securing the roof patch, keeping the temporary roof repair in good shape, and protecting the roof patch until it’s fixed for good.
To secure the temporary roof patch, follow these steps:
- Apply a lot of roofing cement or sealant around the patch’s edges. This makes a strong, waterproof seal.
- Use roof tarpaulins, plastic sheeting, or heavy-duty materials to cover the patch. Make sure to overlap the edges by at least 6 inches.
- Secure the tarpaulin or sheeting with heavy-duty staples, nails, or roof fasteners. Make sure it fits tightly and securely.
- Think about adding more roof fasteners or weights (like sandbags) to keep the patch in place. This is especially important in windy or rainy areas.
It’s very important to secure the roof patch well. This keeps the temporary roof repair working right. It also stops more roof patch problems until a permanent fix is found.
It’s also important to regularly check the roof patch for any damage or wear. If you find any issues, reapply sealant or make small adjustments. This keeps the repair strong and effective.
roof patch
When you face a sudden roof leak, finding a quick fix is crucial. A roof patch can be a temporary solution, sealing the leak and protecting your home. We’ll cover the basics of roof patching, helping you handle roof leaks confidently.
Roof patching is a simple yet important method for fixing minor roof problems. It can stop small issues like missing shingles or holes from getting worse. A good roof patch can hold until you get a more lasting repair.
Key Considerations for Roof Patching
- Identify the Leak: First, find where the leak is. This helps you apply the patch correctly.
- Choose the Right Materials: Use roofing cement, sealants, and tarps or plastic for a strong patch.
- Prepare the Area: Clean and dry the area before patching for better adhesion.
- Secure the Patch: Apply and seal the patch well, making sure it stays in place.
Remember, a roof patch is just a temporary fix. You should get a professional to fix the roof as soon as you can.
Learning about roof patching lets you manage small leaks and keep your home safe. With the right tools and methods, a roof patch can be a solid first defense against roof problems.
Maintaining the Emergency Roof Patch
Even a well-installed roof patch will need to be inspected and repaired over time. It’s important to keep an eye on the patch to make sure it keeps your home safe.
Monitoring and Repairing as Needed
To keep your emergency roof patch in good shape, follow these steps:
- Inspect the patch regularly. Look for signs of wear like cracks, tears, or loose spots. This helps catch problems early.
- Repair any damage promptly. If you see any issues, fix them right away. This might mean re-sealing, applying more sealant, or replacing the patch if needed.
- Monitor the patch after severe weather. Bad weather can affect the roof patch. Check it after big storms to make sure it’s still doing its job.
By regularly maintaining and repairing your emergency roof patch, you can make it last longer. This keeps your home safe until you can get a permanent fix.
When to Call a Professional Roofer
While DIY tips can help with quick fixes, some roof problems need a professional roofer for a lasting fix. Let’s look at when you should call a professional roof repair service.
Big roof damage or unknown causes are best checked by a pro. They can spot the problem and suggest the best fix. Trying to fix it yourself might make things worse and cost more.
- Large or widespread roof leaks that cannot be effectively patched
- Roof damage caused by severe weather, such as hail, high winds, or fallen trees
- Structural issues with the roof, such as sagging or water pooling
- The need for a complete roof replacement or major repairs
Getting a roofer means the job is done right, safely, and with the right tools. They also offer tips on keeping your roof in good shape.
A good roof protects your home and family. While DIY fixes can help, sometimes you need a professional roof repair for a lasting solution.
Conclusion
In this guide, we covered how to fix a roof leak quickly. We talked about finding the cause, choosing the right materials, and how to patch it. Now, you can fix your roof on your own with confidence.
While DIY fixes can help, it’s important to watch the repair closely. If the problem doesn’t go away or gets worse, call Forney Roofers. They can fix your roof right and keep your home safe.
If you’re not sure about your roof or need help, contact Forney Roofers. They offer free roof checks. Their experts will check your roof, find any issues, and tell you the best way to fix it.
FAQ
What are the most common causes of roof leaks?
Roof leaks often come from damaged or missing shingles. Cracked sealants and gaps around vents or chimneys also cause problems.
What are the signs that my roof is leaking?
Look for water stains on your ceiling and mold or mildew. Visible damage or missing shingles on the roof are also signs.
What tools and materials do I need to temporarily patch my roof?
You’ll need roofing cement, caulk, and a tarp or plastic sheeting. A tool to clean the area is also important.
How do I patch a roof with shingles or tiles?
First, remove any damaged shingles. Clean the area, then apply roofing cement. Seal the edges well to stop leaks.
How do I patch a flat or low-slope roof?
Apply a roof coating or sealant to the affected area. This creates a waterproof barrier.
How do I patch a roof puncture or hole?
Use a sealant or patch product for small holes. Clean the area first, then apply the patch.
How do I patch a metal roof?
Use specialized materials and techniques for metal roofs. Choose a sealant or patch product that matches the roof’s material.
How do I properly secure a temporary roof patch?
Make sure the patch sticks well to the roof. You might need extra fasteners or to secure the edges.
How do I maintain the temporary roof patch?
Check the patch regularly for wear or damage. Make repairs as needed to keep it effective.
When should I call a professional roofer?
If the damage is big, the leak is hard to find, or the patch isn’t working, call a pro. They can fix it for good.

